It’s no secret that I’ve been battling hormonal acne for most of my adult life. It took years for me to finally figure out that cow’s milk was the cause of my horrible breakouts. Since switching to almond milk, I’ve been breakout free, but unfortunately I have acne scars left behind as a reminder of what my skin used to look like. After trying countless of products to get rid of the scars, I decided to try micro needling as a last resort before I tried laser and spend thousands of dollars. My first micro needling session was at my dermatologist’s office, but afterwards I bought my own dermaroller and continued weekly “rolling” sessions as home.
Before I describe my experience, I just want to state that this is my experience on micro needling and I am not an expert or a dermatologist. Before doing this yourself, always consult with your doctor and/or dermatologist.
What’s Micro needling?
Micro needling is when you use a dermaroller which has tiny needles to create tiny holes in the skin. The process stimulates your skin’s natural ability to heal itself and in the process produces collagen and elastin.
Is it Painful?
Well, you are poking your skin with tiny needles so I wouldn’t exactly call it pleasant. That being said it’s tolerable, and since you’re doing it on your own skin, you can control the pressure you are putting on your skin.
How do you prep your skin?
Make sure to thoroughly cleanse your skin prior to your micro needling session. Remove all traces of makeup.
Sterilizing your dermaroller
This is the most important step. Since you are doing this at home and not at a dermatologist’s office, it’s important to take the proper steps to ensure that your dermaroller is properly sanitized. Make sure to sterilize your roller for 1 minute before and after each use. Pour some Isopropyl Alcohol in a glass and dip your roller in the glass. Leave it for 1 minute. Shake off the excess alcohol. Your are now ready to use it.
How to Use a Dermaroller
Using some pressure, roll your dermaroller back and forth on your skin, focusing especially on scars. Roll over scars several times in different directions (diagonal, horizontal etc). As you’re rolling, use your other hand to gently pull your skin. This will ensure that the needles are penetrating into the skin. If you have any active breakouts DO NOT use the dermaroller over them. You will infect the breakout and make it even worse.
Size of Needles
You can find dermarollers in various sizes but to actually see a difference in your skin, it is recommended that your needle is .05mm. Once your skin gets used to dermarolling, you can go up a size but since you’re doing this at home, pace yourself because you don’t want to harm your skin and cause irreversible damage. You can find good quality and affordable dermarollers online. I bought mine from Dubai but this is a similar one from Amazon.
Below, I’ve included some before and after photos. I forgot to take a proper picture of my skin before I started this process, so I had to go back and find a random picture, so please excuse the quality of the photo. The before photo was taken three years ago, right before I started my micro needling journey.
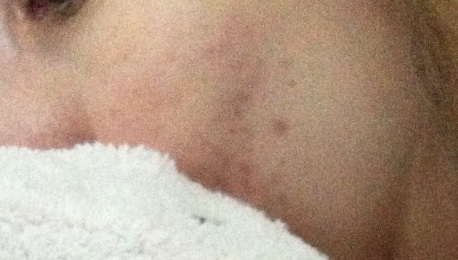
Before Micro Needling
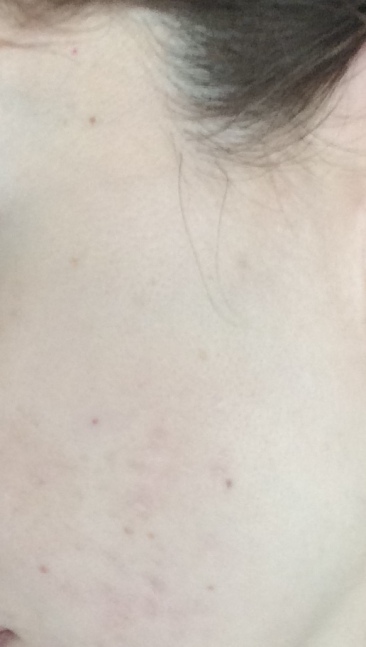
After Micro Needling
I’ve been using a dermaroller on and off for the past three years and as you can see from the pictures above my scars have improved drastically. If you’re thinking about using a dermaroller, I highly recommend you speak to your dermatologist first and do your research on the different types of rollers, etc. Let me know if you’ve done micro needling at home. I would love to hear about your experience.
xoxo
t.